Many of you gamers have complained that previous Alienware Aurora PCs had been too expensive, had poor airflow, and some of you are just tired of the same old design year after year. Well, Alienware has claimed to address all of those concerns. Have they really? Today, I’m going to give you my honest and unbiased firsthand impressions, unboxing, and setup. We’re going to take an up-close look at the internals, pricing with current and future options that are coming soon, and even some gameplay of the all-new Alienware Aurora R16.
As you watch this video, remember to drop your questions below for my full review coming soon. If you’re publicly subscribed to this channel, I guarantee a personal response. This specific configuration that we have here for you includes an i7 13700F CPU and a 4070 GPU. Let’s check it out.
So, we’ve got some documentation, your warranty information, and your Alienware Aurora R16 user manual with some pretty helpful port labeling. It looks like they’re including basic keyboards now. Definitely pretty cheap and basic. If you’re going to be getting a flashy gaming PC, then I highly recommend a gaming keyboard and a gaming mouse. Make sure to stay tuned for my massive Alienware accessory review coming soon.
Then we’ve got a pretty cheap looking basic mouse. Wow, that is extremely light. And then we’ve got your power cable, probably the thinnest gaming PC power cable that I think I’ve ever seen. That’s a pretty unique looking Wi-Fi antenna. Oh, and then underneath the keyboard we’ve got a thank you card and your traditional Alienware fanboy stickers. Alright, let’s close that back up and check out the main event.
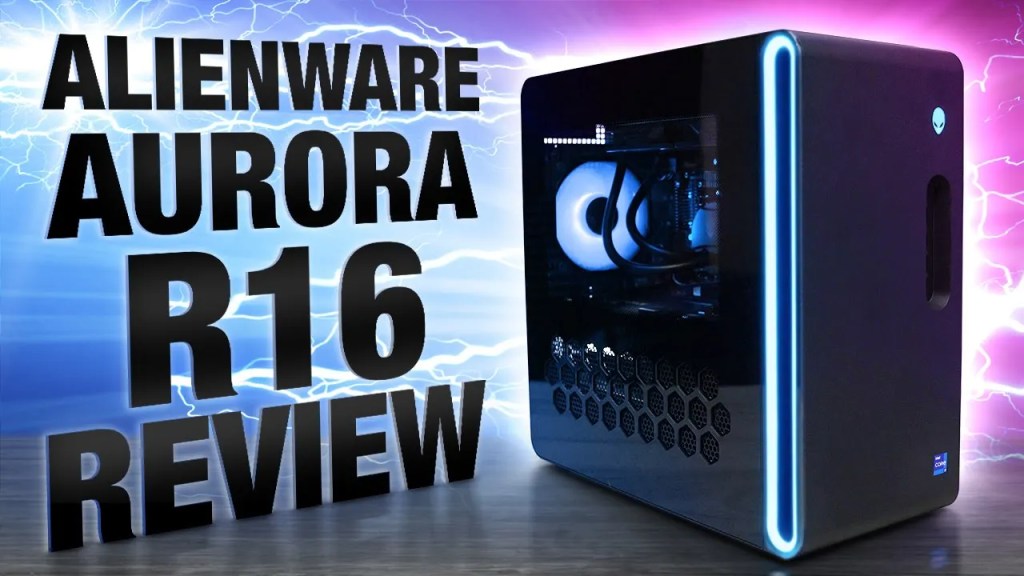
That looks pretty slick. We’ve got a similar honeycomb ventilation like we did on the R15. The see-through glass portion looks considerably smaller. Thank God we finally got ventilation on the top of the case that doesn’t just redirect it to the back. For the ports on the front, we’ve got a headphone and microphone combo jack, three USB 3.2 Gen 1s, the bottom one with PowerShare, and a twice as fast USB-C 3.2 Gen 2 also with PowerShare. On the back, we’ve got a very generous amount of high-quality audio ports, and then we’ve got eight more USBs—six of them USB-As and two of them ultra-fast USB-Cs. And then we’ve got an ethernet port, two connectors for your Wi-Fi antennas, and then on the back of our 4070 GPU, three display ports and one HDMI port.
Alright, let’s go ahead and take a look at the internals. So, I guess we have to unscrew this lock first, then pull this little handle to pop off the side panel. We’ve got our 12-phase voltage regulation right there, our Alienware branded CPU cooler for our i7 13700F CPU. For those of you who don’t know, this cooling block right here uses liquid to take the heat from the CPU and transfers it up through these tubes into this 240 mm radiator where it’s then blown out with these two 120 mm fans.
You can see we’ve got another fan here on the front. I really wish there was more than just one intake fan. We’ve got plenty of room for another one at the top. Not sure what that’s all about. Maybe it’s part of the attempt to make this a budget PC. And then we’ve got one more fan on the back, which is a 120 mm exhaust fan. Right here is our two sticks of DDR5 RAM—unfortunately it’s still that ugly green color, no heat sinks or RGB on the RAM. And then next to the RAM are SSD drives. You can see that there are no heat sinks on those either. You can see that these are SK Hynix PCIe Gen 4 x4 drives.
Next to that, our Wi-Fi card and then we’ve got a bracket on the bottom for a traditional 3.5-inch mechanical hard drive. And then lastly, right here we’ve got Dell’s version of the 4070 GPU. This one looks really small. I don’t currently have another 4070 in the studio right now, but this is what it looks like next to a Founders Edition 4080—pretty tiny. A little bit of a process to take the GPU out. First, you’ve got to unplug it, open this door, remove the GPU support bracket, remove this side support bracket—no screws on this GPU. So then you just need to flip this switch and pull it out.
You know, I wonder how easy it is to put a Founders Edition 4080 in this thing. There’s definitely not sufficient clearance for decent airflow, though. Once we close this bracket, do we have some decent support? It feels pretty snug on there. My bracket still fits on it, barely enough room to still have this bracket in here. Now for the software, you can see that in this new build we finally got access to the brand new Alienware Command Center, and right here is where you can fine-tune your performance profiles based on whether you prefer quiet fans and lower performance or louder fans with the ultimate performance. Or you can go right here into custom and fine-tune your fans individually if you want to. In the Alien Effects tab, you can set a bunch of different colors and animations for your three RGB zones. This will also sync with Alienware keyboards and mice and other accessories.
And we’re about to do an ultimate Alienware accessory review in the near future as well. Unfortunately, if you’re one of those advanced users that likes to tinker with the BIOS to customize and squeeze just a bit more performance out of your machine, you’re kind of out of luck with this one as there are very few options available within the BIOS compared to what I’m used to with most other pre-builts. As far as pricing and available options right now, this configuration that we have here will run you about $1,900. Surprisingly, that is not a ripoff. In the past, Alienware has put quite the premium on new PCs basically taxing the fans that just want to be first. Or sometimes you could just haggle with Dell chat and get the price down a little bit, but even after that they were still pretty overpriced. Not the case with this new R16 and I’m honestly pretty excited to get to work on my full review and run all of my tests on all the games to see where this one stands when it comes to price to performance ratios.
I’m already predicting this one to be the best price to performance ratio out of all the Alien desktops I’ve ever seen and most likely one of the best when comparing all of the others. By the way, I’ve also been notified by Alienware and they’ve allowed me to share this—that there’s going to be 4080 and 4090 versions of this PC within the next few weeks.
Alright, so jumping into Red Dead 2, these are all of my nearly maxed out graphic settings. Let’s see how the R16 handles this game at 1080p. Alright, let’s go ahead and steal me some horses. Why me? ‘Cause you got the nas’s horses, partner. Ooh, I wonder if this horse will let me rout it. Oh nope, whoa they laying. So we’re getting about 122 average frames per second with these pretty high graphic settings. That’s not too bad for only a 4070 GPU. It’s just barely the lowest out of all the pre-builts that I’ve tested so far, but pretty much all of those PCs had 4080 and 490 GPUs and cost a lot more than this one.
Alright, now stepping it up to 1440p, 107 average frames per second. And then lastly, jumping up to 4K and fast forwarding through a bit of some gameplay, about 69 average FPS. The GPU is a little hotter than most, but still not within throttling territory. We’ve basically got similar numbers that we had with that X16 laptop except this desktop is about $1,100 less than that one, and that CPU and GPU of that laptop also ran quite a bit hotter, which ultimately means a shorter lifespan.
Alright, now let’s check out some Call of Duty Modern Warfare 2 at these max graphic settings right here. This is 4K. We’re going to fast forward real quick through the actual benchmark test to get to the results, and 67 FPS at 4K. That’s pretty impressive for a $1,900 PC to hit over 60 FPS at maximum graphic settings at 4K. Now jumping down a hair to 1440p, fast forward and 111 FPS. Let’s go ahead and switch it from the performance profile to quiet and see what happens. Wow, the exact same FPS—no performance loss.
So far testing out the fan noise, we only got about 41 dB in quiet mode and about 43 dB in performance mode. Now running through some actual gameplay at 4K, let’s go and fast forward a bit. It actually looks like it was just a little bit higher than the benchmark was at 75 average FPS. So far I think this PC is the more budget friendly gaming desktop that Alienware has needed for a long time. Now, performance is about where it should be. GPU temps are a little bit hotter than I predicted, but I haven’t yet run all of the Windows updates or the Alienware updates because I just wanted to see how this PC performed right out of the box. Stay tuned for my full review where I run all of my typical day’s worth of testing to help you make the most informed decision possible with your hard-earned money.
I do like this new design, but I think there’s just a few small things that would have made it a lot better without making it that much more expensive, like covering up those ugly SSD labels with metal black heat sinks, adding an LED light bar to the inside to illuminate these fairly dark internals, and then maybe offer a more premium version for people who just want to go all out—something with RGB on the water block like previous Aurora PCs. And then maybe finally step it up to RGB RAM instead of this ugly green RAM. We also really should have two intake fans on the front—there’s definitely room for one more.
Now, if you do decide to purchase this PC or one of the others that I mentioned, then please remember to use my affiliate links in the comments and description below as I get a small commission at no cost to you for every single purchase made, and it’s actually a major factor in keeping this channel going and getting better and better for you. I’d also like to personally thank all of my members for their monthly support of this channel. Also, make sure to like, comment, and subscribe with notifications turned on to stay up to date with all of my latest tech and gaming PCs, and so that you can know when my full review is up.